pinterest

Showing posts with label OSCC. Show all posts

Saturday, February 19, 2011

Happy Birthday!!


I'm so excited today, after going to CHA and having so much fun there and demonstrating the new Scor-Pal my local Stamping/Scrapbook Store, Simple Pleasures asked me to demo it for their Anniversary celebration today.  I'm so excited and can't wait to show more people how absolutely wonderful my Scor-Pal is!

February is a big birthday month in our family, Katie turned 3 at the beginning of the month and my birthday is this week!  So in honor of the birthdays I chose to do a birthday card theme at One Stop Craft Challenge.  I'm asking for a birthday card that has a cake on it because after all who doesn't LOVE cake!!  Chocolate is my favorite, what is yours?

I make a cake easel card, actually there are two cakes on my card!  The more the merrier!  I used Love Cake and Tilda with Amaryllis.  I used my Scor-Pal to score diagonal lines into my base cake, I saw this on someone's blog but can't remember who so I'm sorry that I can't give them credit.  I decorated my cake with lots of pearls, lace and flowers!


Thanks for stopping by!  I hope you have some yummy cake today!

Lisa

Monday, January 24, 2011

Diamond Fold


Hello Everyone!  Sorry I am late posting my card for the One Stop Craft Challenge challenge this week.  This weeks theme is "More Than One Fold".  I chose to do a diamond fold card.  I recently saw this on You Tube and I thought I'd give it a try.  I have to say it is a whole lot easier than it looks!

Start with a piece of paper 4" x 12".  Score with your Scor-Pal  at 2", 4" 8" and 10".  Next make a light marking on the back at 6", this is where you will start your diagonal lines at.  Here is a template that I created for it:


Below are some pictures to give you a better idea on how I folded it.
I used my cute little hAnglar girl to adorn my card and the flowers are from Wild Orchid Craft, my absolute favorite spot to purchase paper flowers.


Thanks for stopping by today! 

Saturday, January 8, 2011

My Artwork....

Good morning friends!  This week at One Stop Craft Challenge we would like you to make a card for a child.  Well, I started out making a card for a child and I ended up making a page frame for my BFF for her daughter!  Her daughter is very artistic and I thought it would be a great place to display her masterpieces!

Here is a close up of the "card".  The image from Elisabeth Bell, it is call "Little Suzanne".  The crayons are from the "Locker Talk" cartridge from Cricut.  Designer paper is from CTMH, it was speciality pack from about a year ago.

Here is the whole page frame.

Thanks for stopping by!
Lisa

Saturday, December 4, 2010

Tea Box


One Stop Craft Challenge has an awesome challenge for you this week.  Create a project or card that has to do with Tea or Coffee.  What a great idea!  I thought that this challenge was a very unique one and couldn't wait to get my hand into it.  I decided to make a "tea box" as a gift box that holds tea bags.  I really like the way it turned out, so I have taken a lot of pictures of it, sorry for that!  Anyway, I created a tutorial for it that directly follows this post.


Here is the front of the tea box.  I used a chipboard teapot that I got at Michaels for the face of the drawer.  I used Tilda with Cherries and Starlight Tilda (mini) and Tea Cup from Magnolia.

Here you can see the drawer opened just a bit.  The beads were from Michaels also.

Here Tilda with Cherries sits atop a mound of roses.

a quick look at the back
Thanks for stopping by!  I hope you get inspired to create a tea box too.
Lisa

Tutorial - Tea Box

Tea Box


9x9 piece of heavy cardstock
2 pieces of 3x6 chipboard
Chipboard teapot
Designer paper 3 x 9 3/8
Designer paper to cover teapot
save extra designer paper, we will use it.
Decorative brad
Adhesive
Scor-Pal
paper trimmer

Using the 9x9 piece of cardstock, score at 3” on all sides. Cut up to the 3” mark, twice on 2 sides


Fold to create a box, and adhere sides, this will be your drawer.


Next, take both pieces of 3x6 chipboard and adhere to each other to create a four sided box.

Hint: before attaching place your drawer inside the box to create a nice fit.


Using the 3 x 9 3/8 piece of designer paper, score at 3 1/8 from each side. Apply adhesive and attach to the top of the box. The middle “square” on the designer paper should be on top.

Like this.  There is no designer paper on the bottom.


Using the extra designer paper, adhere the chipboard teapot, and cut out the teapot. I distressed it a little on the sides.


Now attach the tea pot to the front of the drawer. Attach decorative brad to the front to use as a drawer pull.

Now it is time for the fun stuff! Decorate it as you wish!


My finished project!


Thanks for playing along with my tutorial.  I hope you like your tea box.  Please let me know if you have any questions and I will try to answer them.

Lisa


Saturday, October 30, 2010

Apothecary jar

Hi everyone!!  One Stop Craft Challenge is celebrating it's 2nd blogiversary we are holding our first ever blog hop!!  There is lots of fun and excitement going on!  First off, if our challenge for the week, which is "Anything Goes"!  There are a ton of sponsor's this week, so be sure to check out the challenge blog and see all the prizes!  Next is the blog hop with all of the awesome's design team's creations!!  Read carefully, because you never know when a design team member will have a fabulous prize she is offering also!  If you came here from the fabulous Janet's blog, you are on the right track.  Be sure to hop on over to the awesomely talented Lorraine's blog when you are finished here.  Be sure to scroll all the way down to the end for a surprise!

Now...onto my project...


One last project for Halloween...whew...finally!  Not that I don't absolutely love Halloween, but I'm a bit tired of making cards and projects for it!  Anyway...I made this apothecary jar for Josh's teacher.  The black is all vinyl that I cut with the October 31st cartridge from Circut.  The image on the card is a Yummy Frogs from Pink Cat Studio.  I used a Martha Stewart punch for the spider web under the card.

Here is a close up of the card.

Then I filled it up with yummy gluten free treats!

I hope your having fun doing the blog hop!  Now I have some blog candy for you!!  In celebration of fall I have the following stamps and a $10 gift certificate to 7 Kids College Fund for a randomly drawn person. 


C.C. Designs Sugarplums Apple Emma, and Vintage Tilda from the Merry Little Christmas Collection!  Both are new and in the package.


The rules are simple:

1.  enter your name using Mr. Linky
2. become a follower if you are not already
3.  have fun!

I will pick a winner Thursday, November 4th and announce it on my blog.


Saturday, October 2, 2010

Think Pink

Good morning!  Today is the 100th challenge over at One Stop Craft Challenge.  The theme is very appropriate, it's Congratulations!  To chose to make a baby card.  I just love this hAnglar image, isn't she just the cutest!

The designer paper is Basic Gray.  I cute the filligree behind my image with the Lovely Flowers cartridge from Cricut.  The flowers are WOC.  I'll come back later and update with the copics that I used.  I just really wanted to get this posted.

Thanks for stopping by.
Lisa

Saturday, September 18, 2010

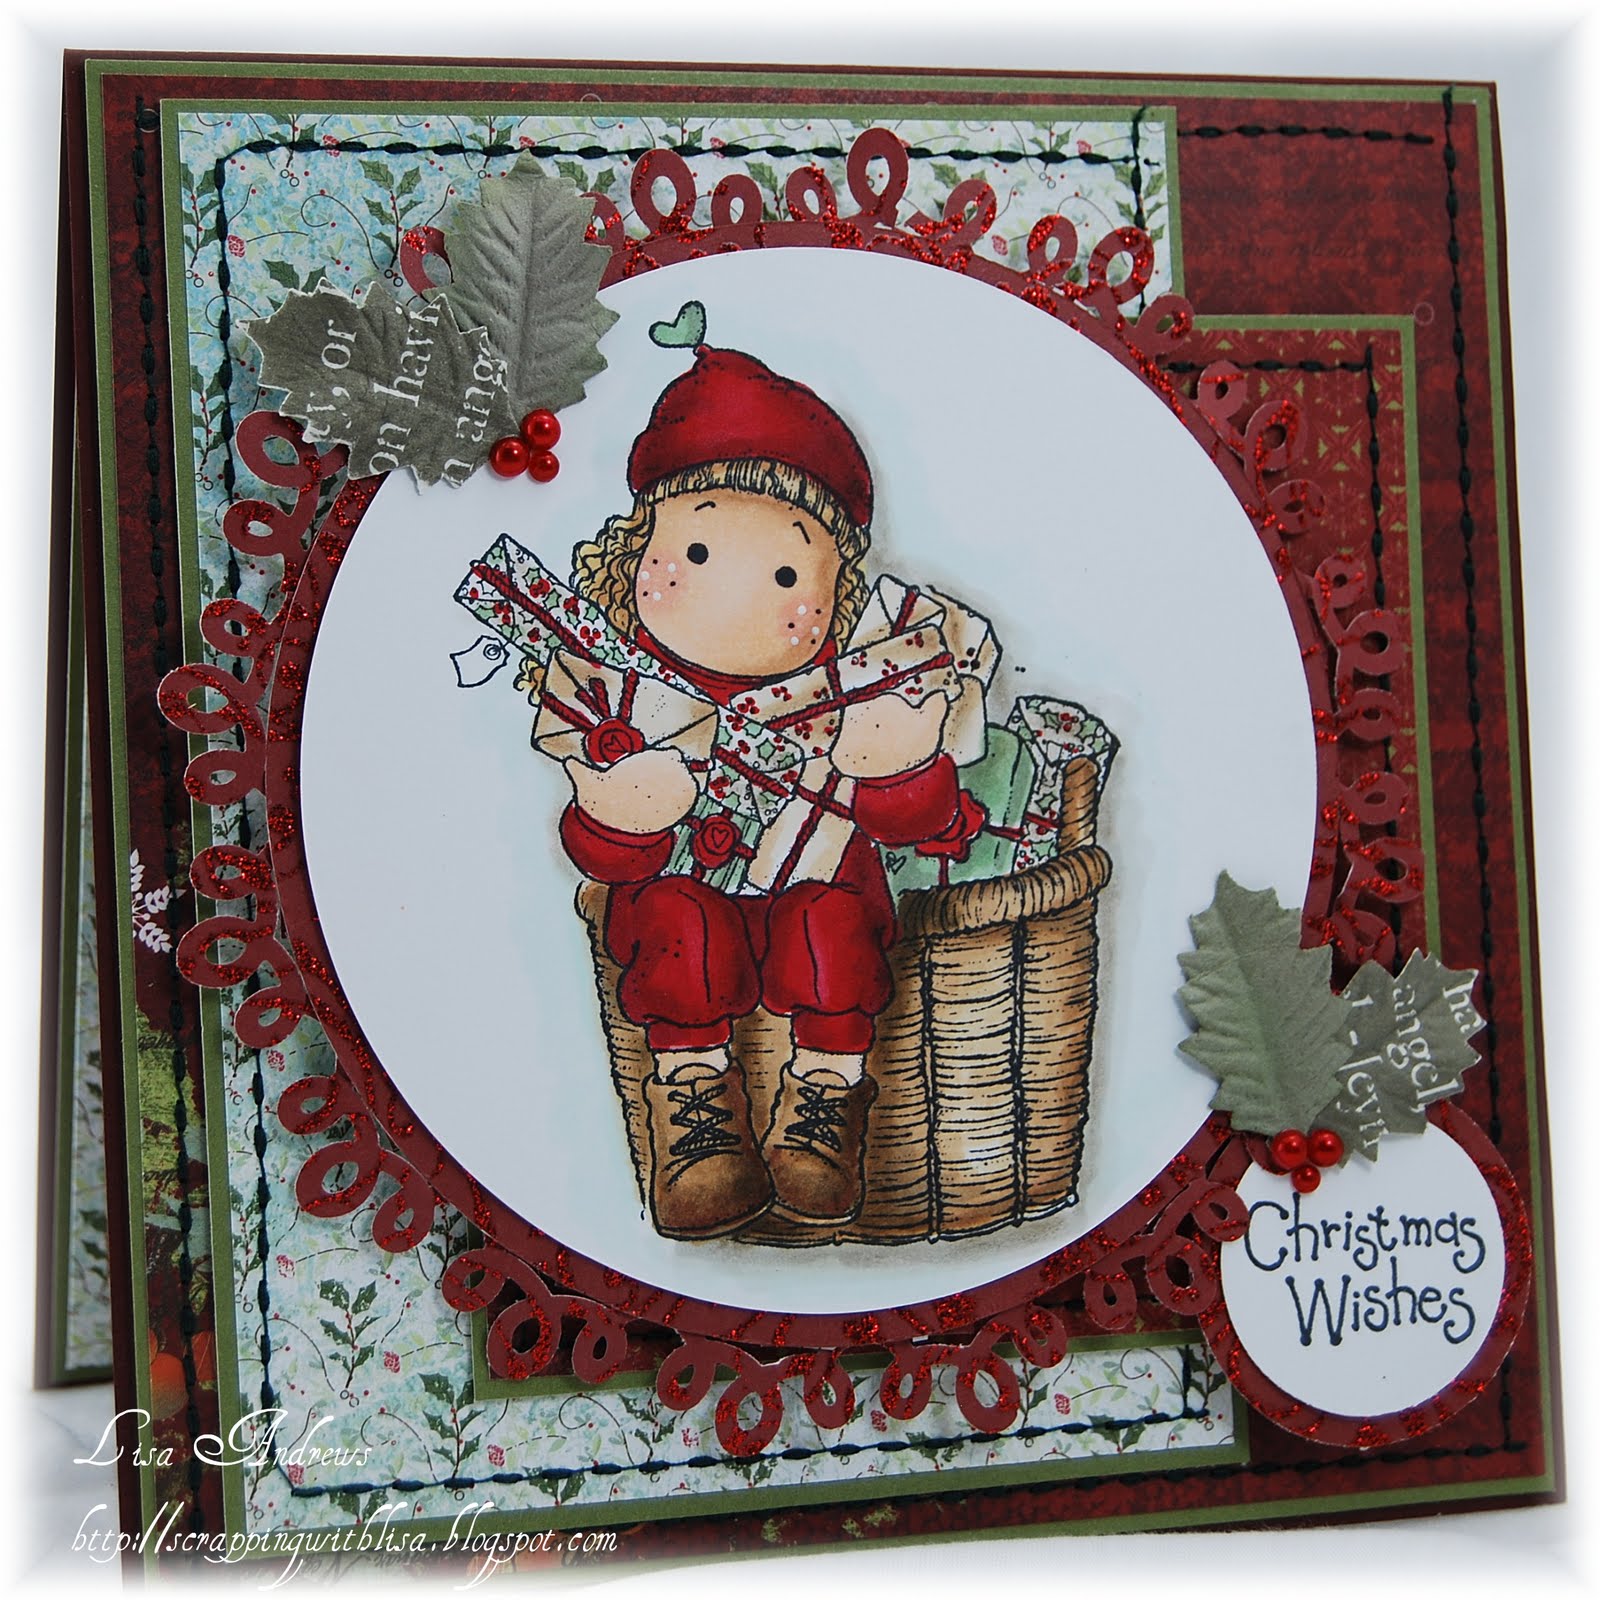
Bundles of presents

Hi everyone.  I'm getting ahead start on my Christmas cards.  This one is for One Stop Craft Challenge.

My image is Tilda with presents and Basket of Presents from Magnolia.  My designer paper is from Memory Box and Making Memories.  They are stamped on Neenah Super Smooth paper and stamp with Memento Black Ink.
I used copic sketch markers to color with.  Here is a list of the ones that I used:  RV34, E35, E41, E53, R29, R39, BG93, G0000, G21, W3, W1, Y21, E33, E29, E44.

Thanks for stopping by!
Lisa


Friday, August 20, 2010

Pumpkins and Witches

Hi everyone!!  Boy, I have really been in a Halloween mood lately.  This week at
One Stop Craft Challenge we are asking for "Anything but a Card!"  I hope you get inspired to make something other than a card and join us this week at OSCC.   My plan was to make a haunted house and attaching Tilda to it, but it kind of evolved into this cute basket.  I used two different patterned papers to weave the basket.   I am going to use the basket to put some candy in and give it as a Halloween surprise to someone....not sure who yet, maybe Josh's teacher.

The images I used are Witch Tilda and Pumpkins and Pumpkin and Leaves.  The sentiment on the back is a Magnolia also.  They are stamped on Neenah Super Smooth paper and stamp with Memento Black Ink.


Designer paper is from Basic Grey and SU.  I used an EK Success punch for the border and the handle.  I picked up the cool looking sprig from Michaels the other day and the blingy leaves are from JoAnns. 

Here is the list of copic sketch markers that I used: Y23, YR01, Y38, YR0000, E53, Y21, BG93, G12, G82, YR02, E30, E21, E44, E00, W1, W3, W7

Challenges:

Thanks for stopping by today!!

Saturday, August 7, 2010

Summer Fun, One Stop Craft Challenge!!

Hi everyone!!  Well, sadly we are nearing the end of summer.  Josh has already gone back to school!!  Thankfully our neighborhood pool is still open!  I made this little sign to hang while we are swimming.  I made the matching little frame to go with it.  I picked up a wooden frame from Michaels and covered it with desginer paper (from my stash).
I used Beach Tilda on both projects.  They are stamped on Neenah Super Smooth paper and stamp with Memento Black Ink.  I used copic sketch markers to color with.  The flowers are from Wild Orchid Crafts and ribbon is from SU

The adorable (I just may be a little bias) little sweetie in the picture is Katie.
Thanks for stopping by today!!  Have a wonderful day!

Lisa